Creating a new job - E10
Print
Modified on: Wed, 10 Jul, 2019 at 2:21 PM
- Click on the SEARCH icon on the Epicor home screen
- Type in the search field SERVICE CALL CENTER
- Click on the corresponding result
- SERVICE CALL CENTER screen will appear
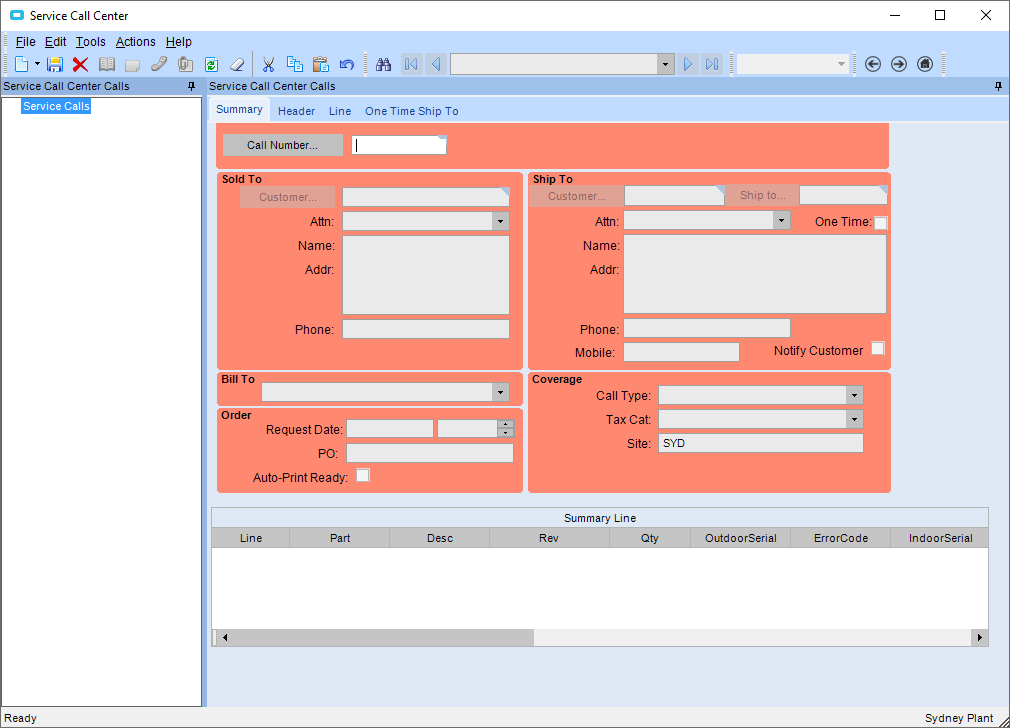
- Press the NEW icon
- Enter in the customer number
- if the customer has an account, use their customer number regardless of the type of job
- to search for the account number, press the CUSTOMER button and enter in the name of the customer in the STARTING AT field and press SEARCH. Double click on the desired customer
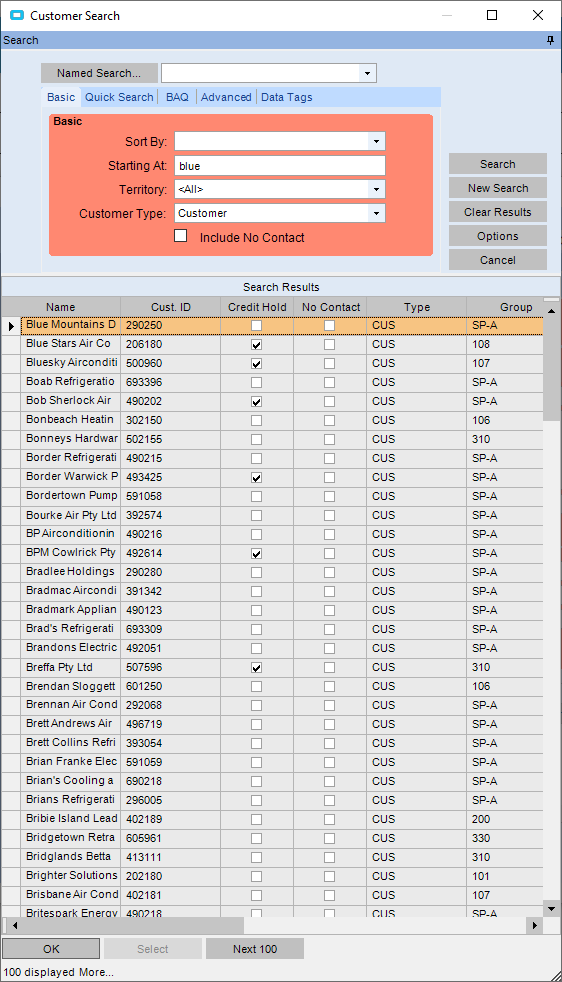
- if the job is chargeable or warranty to someone that does not have an account, use the FUJITSU FIELD SERVICE ACCOUNT relevant to that state
- NSW - 297772
- QLD - 497774
- SA - 597775
- VIC - 397773
- WA - 697779
- If you have selected and account customer, a purchase order must be entered in the PO field
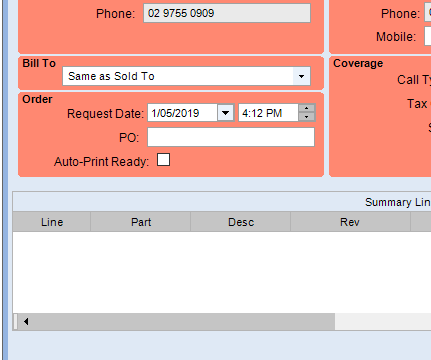
- Select the call type from the drop down menu in the CALL TYPE field
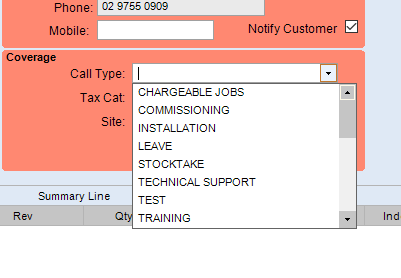
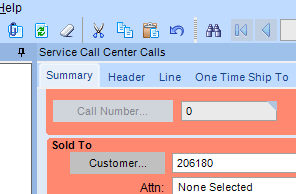
- Select the ONE TIME SHIP TO tab
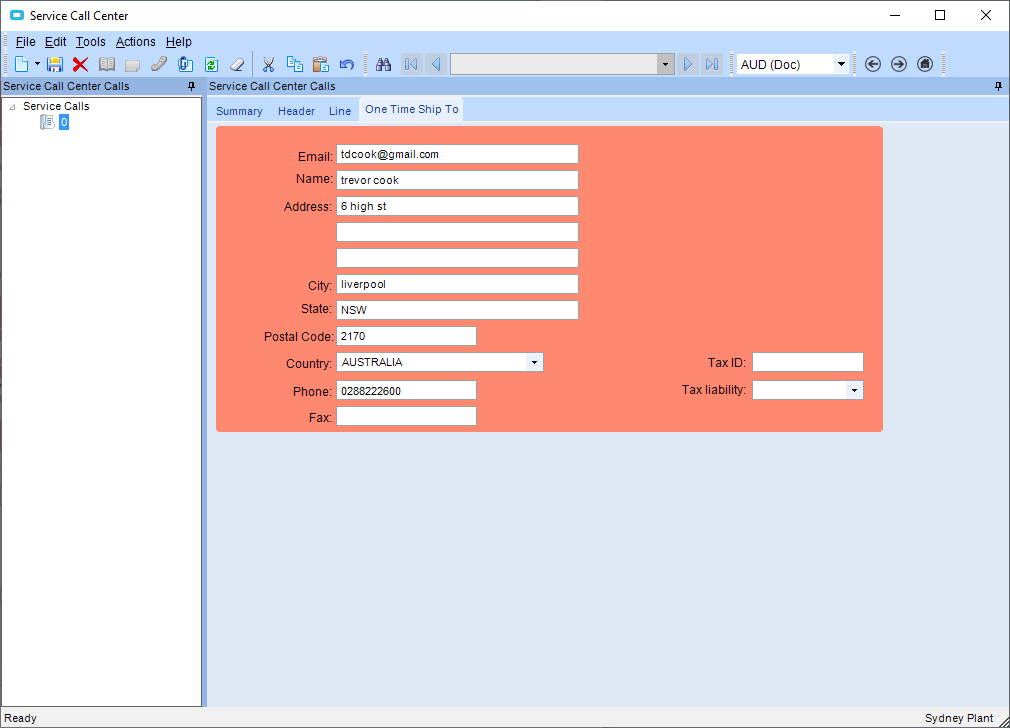
- Enter in all the job details of where the job is located such as
- email address - where the invoice will be sent
- name - name of the contact onsite
- address - physical address of the job where the technician is to attend
- city - suburb of the job
- state - state of the address, this must be in capitals such as
- postcode
- phone - this can either be mobile or landline
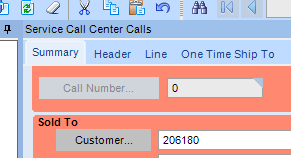
- Go back to the SUMMARY tab
- Press the SAVE icon and all the details will be saved including the one time ship to address
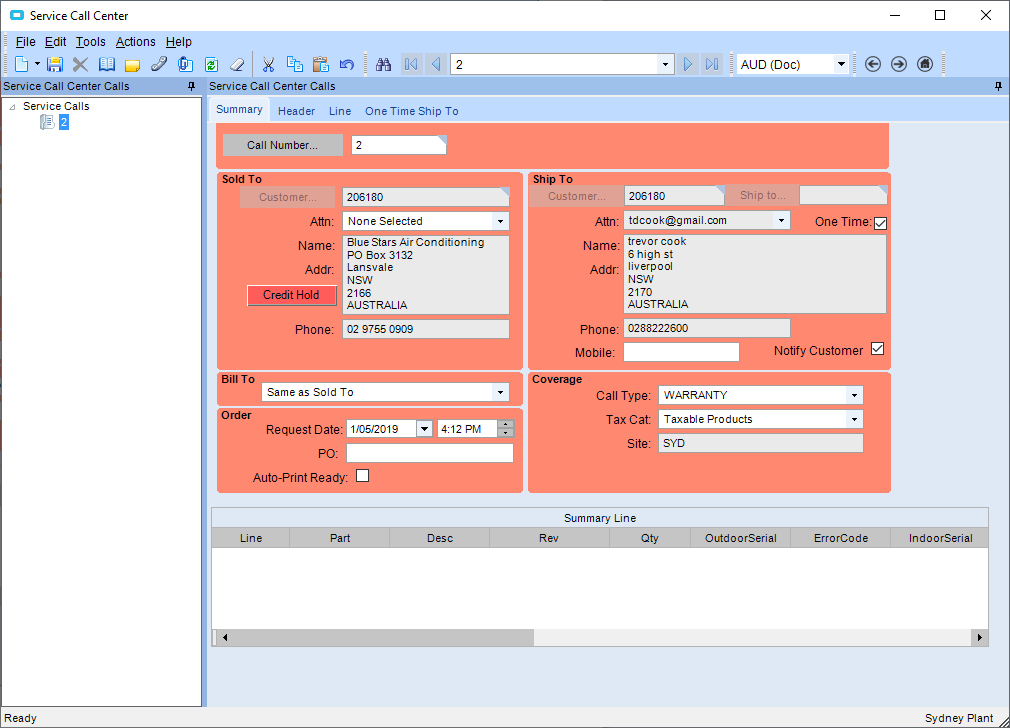
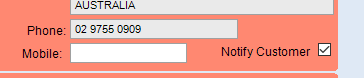
- If you want an SMS sent to the customer to remind them of the booking, please enter their mobile phone number in the MOBILE section and press the SAVE icon after you have ensured that the NOTIFY CUSTOMER button is checked
- Go to the LINE tab
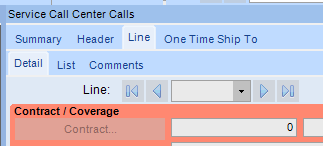
- Press the NEW icon
- Enter in SERVICE in the PART/REV field and press the tab button on the keyboard
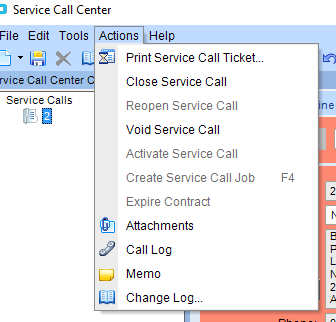
- After all the details are complete, go to ACTIONS>CREATE SERVICE CALL or press the F4 button on the keyboard
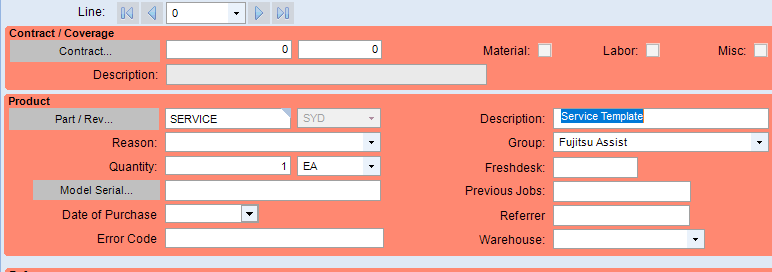
- Enter in the
- model and serial with no space between the model and serial number in the MODEL SERIAL field
- Enter in the date of purchase
- enter in the error code if known, examples are
- E12.1 (wired remote)
- 5U (wired remote)
- NONE
- O1 T2 EC (where O means OPERATION flashing once, T means TIMER flashing twice, E means ECONOMY and C means CONTINUOUS FLASHING)
- O2 TC S0 (where O means OPERATION flashing twice, TIMER is CONTINUOUS and SWING is not flashing)
- Freshdesk ticket ID if appropriate
- Any previous jobs if known
- The referrer of the job
- The location of the field team that will be attending from the drop down box under WAREHOUSE
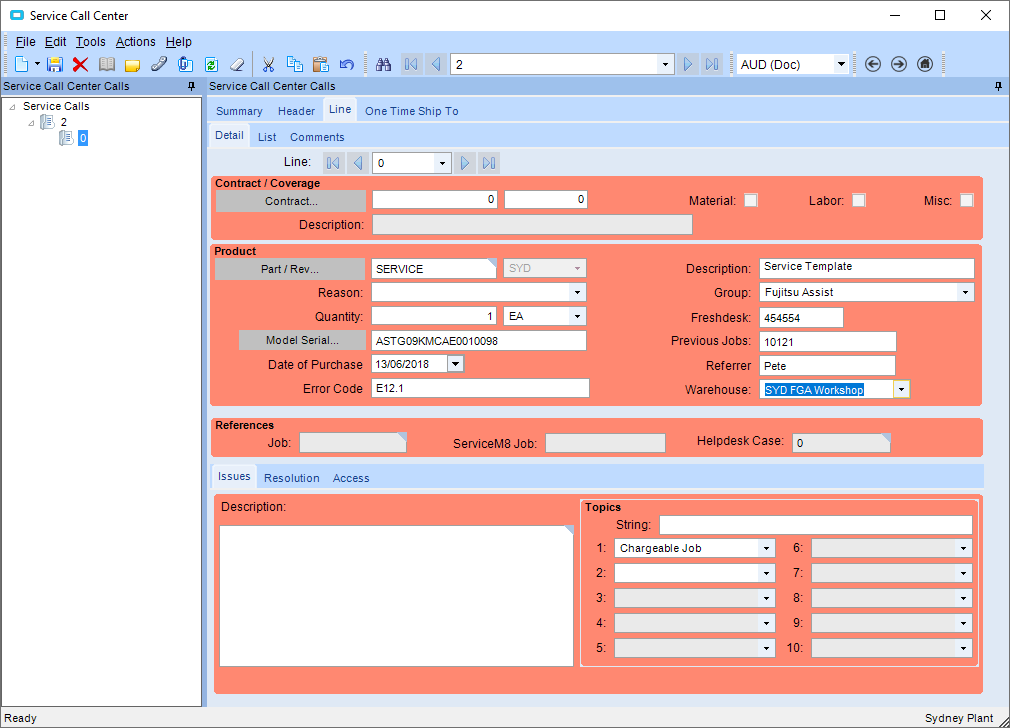
- Enter in the issue the customer is having in the DESCRIPTION field
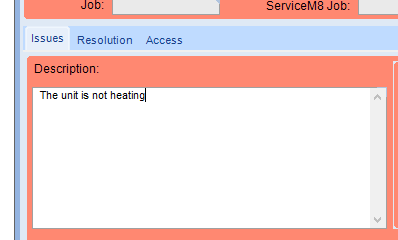
- Select the TOPIC in the TOPICS field
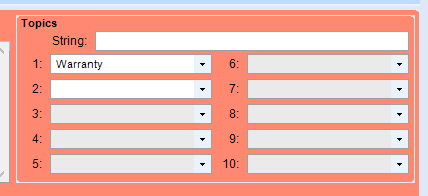
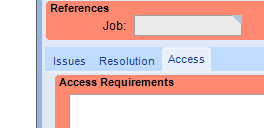
- Select the ACCESS tab
- Enter in the units access in the ACCESS REQUIREMENTS field
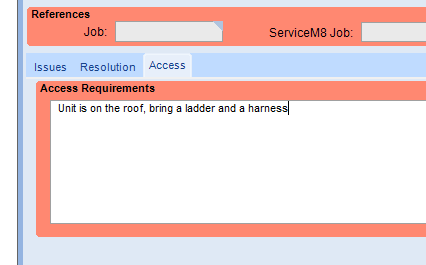
- Press the SAVE icon
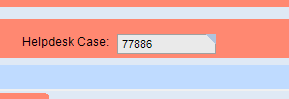
- Ensure that if the job has been created as a WARRANTY, that a HELPDESK CASE has been created
- If the customer is on CREDIT HOLD, you will need to contact the Credit Department to have the customer taken off credit hold
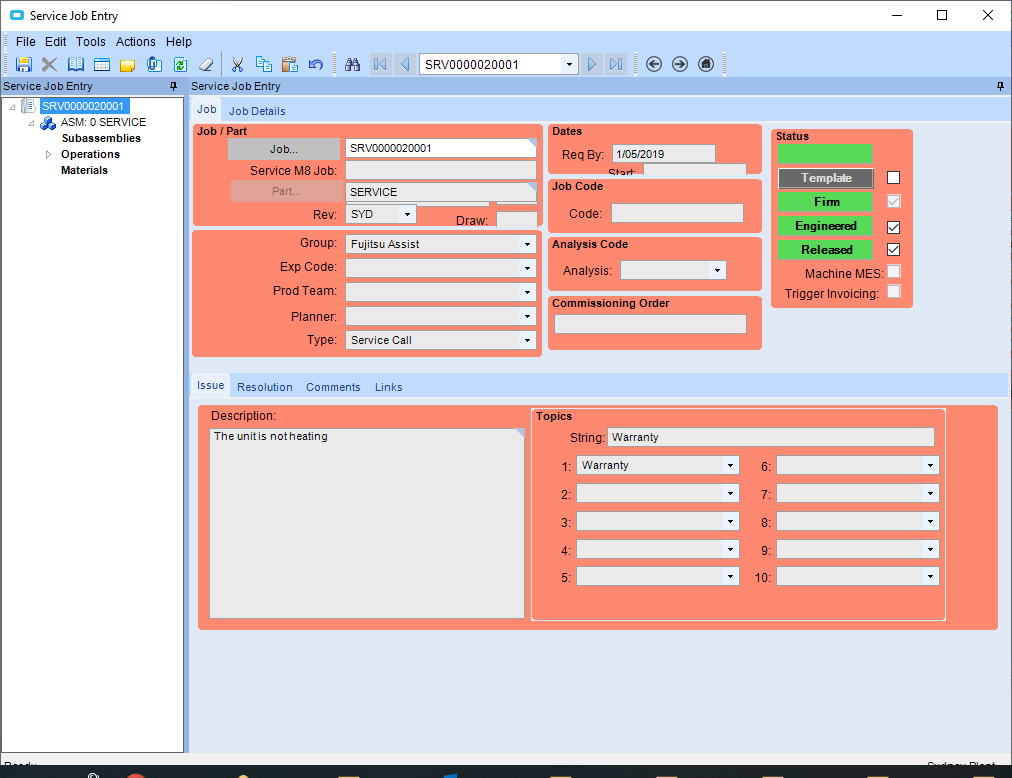
- A new window will appear called the SERVICE JOB ENTRY screen with all the details entered previously on the SERVICE CALL CENTER screen. This screen can be closed if you wish but it will open every time you create a new job.
Did you find it helpful?
Yes
No
Send feedback Sorry we couldn't be helpful. Help us improve this article with your feedback.
